
REVIEW · IRELAND
Dublin: Personal Photographer- Travel Photography Experience
Dublin is built for great photos, and this tour is built for getting them fast. You start at O’Connell Bridge and move through Dublin’s most camera-friendly landmarks with a professional photographer calling out poses and angles, plus you get professionally edited photos shared as a digital gallery soon after. One thing to consider: it is not suitable for wheelchair users, so plan for walking.
I love that this is not just sightseeing with a camera. You get hands-on guidance while you enjoy the city, and the stops are chosen for variety, from lively streets to classic Dublin scenery.
The main tradeoff is time. It is only about 2 hours, so it is best if you want a tight, photo-focused route rather than a long, slow wander.
In This Review
- Key highlights to know before you go
- How this Dublin photography tour actually feels on the street
- Meeting point at O’Connell Bridge, and why starting here matters
- Temple Bar photo stop: colorful streets, quick direction, big payoff
- Grafton Street: a fashion-meets-Dublin street photo moment
- St. Stephen’s Green: where your photos get greener and calmer
- Trinity College Dublin: classic architecture, and a reason to slow down
- The photography part that makes this tour worth it
- Price and value: is $180 per group actually fair?
- Who this tour is best for in Dublin
- A few practical tips so your photos look great
- What to know from real guide energy, like Lyvia
- Should you book this Dublin photo experience?
- FAQ
- What is the price for the Dublin personal photographer experience?
- How long is the tour?
- Where do we meet, and where does the tour end?
- What will I receive after the tour?
- Is the tour private?
- What language is the live guide?
- Is this tour suitable for wheelchair users?
Key highlights to know before you go
- A private group up to 8 makes it easier to get individualized posing help
- Professional photographer with tips helps you look natural, not stiff
- Edited digital photo gallery within days gives you real keepers for social media
- Prime Dublin photo stops include Temple Bar, Grafton Street, St. Stephen’s Green, and Trinity College
- Relaxed pace with guidance keeps you moving without feeling rushed
- Ends back at O’Connell Bridge so you can continue your day easily
Other shoots worth chasing the dawn light for
- Dublin: Personal Photographer- Travel Photography Experience★ 4.5 · 8 reviews
- Private Tour: Personal Travel Photographer Tour in Dublin★ 5.0 · 6 reviews
How this Dublin photography tour actually feels on the street
This kind of tour works when it gives you structure without taking the fun away. Here, the photographer keeps things moving, but the vibe stays relaxed. You’re walking Dublin, not trapped on a bus schedule. You’re also not standing around waiting for your turn. The goal is simple: you get photos that look like Dublin in the best light, with you included, not just landmarks behind you.
The biggest value for me is confidence. Plenty of people can take decent photos on their phone. Fewer people know what to do with their body, where to stand, how to hold a smile while a shutter clicks, or how to frame a shot so it looks effortless. When the photographer suggests quick pose ideas and adjusts your positioning, you stop thinking and start enjoying the walk.
If you care about Instagram-quality images, you’ll like how the route is built around iconic street scenes and famous sites that already look good in a camera. And if you just want something memorable beyond selfies, it delivers that too.
Meeting point at O’Connell Bridge, and why starting here matters
You meet at O’Connell Bridge, and the tour ends back at the same spot. That is a practical setup. O’Connell Bridge is a central “anchor” for Dublin, so it is easier to line up your day before and after.
Starting here also helps with the first photos. You get your bearings fast, you learn the photographer’s style quickly, and you can settle into the rhythm: walk, pause, pose, shoot, then head to the next spot. By the time you reach the more colorful areas, you already know how to work the moment.
One small planning note: since it is a walking experience, wear comfortable shoes. Dublin sidewalks can be uneven in places, and you want your feet to handle the full 2-hour route without distracting you from the fun.
Temple Bar photo stop: colorful streets, quick direction, big payoff
Temple Bar is the stop most people picture before they ever arrive. It’s full of that classic Dublin street-energy, and it photographs well because there’s always something interesting happening around you.
You get a dedicated photo stop and a guided segment of about 25 minutes. That time matters. It gives you room for multiple shots, rather than one quick photo and a move-on. A photographer can also help you avoid the common problem of getting the background right, but your face looking tense or out of sync with the frame.
What to watch for: Temple Bar’s vibe is busy. So the direction you get on where to position yourself is useful. If you’re aiming for a clean look, you’ll want the photographer’s guidance on angles and spacing. If you’re happy with an energetic street feel, you’ll likely get that too.
Potential drawback: If you’re someone who hates crowds or prefers quiet streets, you might find Temple Bar intense. The tour still keeps it relaxed, but you are choosing an area that naturally attracts foot traffic.
Grafton Street: a fashion-meets-Dublin street photo moment
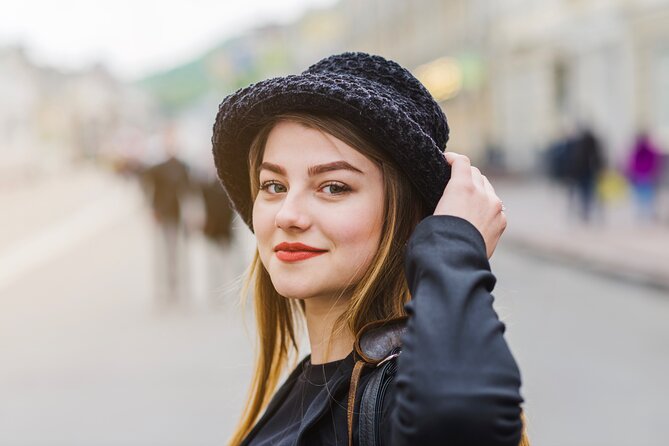
Next is Grafton Street with another 25-minute photo and guided visit block. Grafton Street works on camera because it’s a mix of storefront energy and pedestrian-friendly street scenes. It is also one of those places where you can get photos that feel candid without looking accidental.
This stop is a good “breather” compared to Temple Bar. You’re still in the photo zone, but you can often get cleaner compositions and more room to create flattering portraits that include the street context.
What I like about this kind of stop: it gives you variety. Temple Bar can skew colorful and lively, while Grafton can feel more like a stylish Dublin walk. Your photo set ends up with more range, and your gallery doesn’t look like every image was shot in the same visual mood.
If you want a single tip that makes the most difference here, it’s to follow the photographer’s pose cues rather than trying to improvise every shot. The photographer’s job is to make you look natural in a place that’s constantly changing behind you.

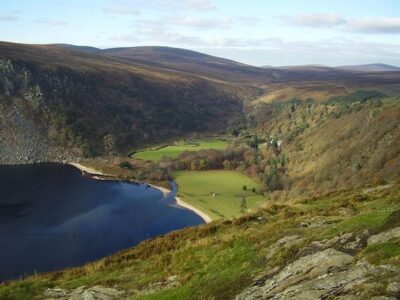
St. Stephen’s Green: where your photos get greener and calmer
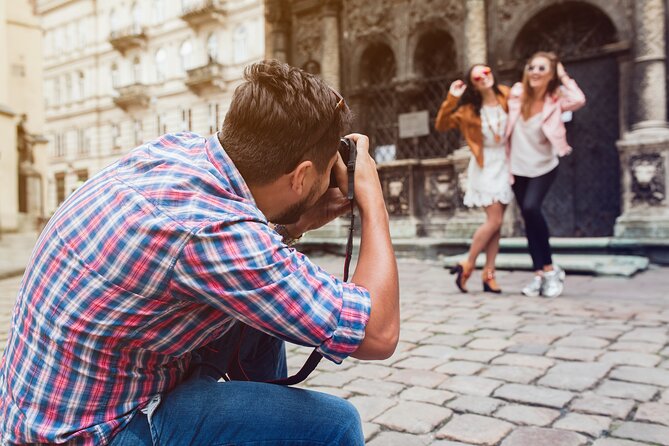
Then you head to St. Stephen’s Green, with a 25-minute visit. This is the point where the tour’s personality shifts. Up to now, you’ve had streets and city scenes. Here, you get a park setting, which often means more space, softer lighting, and backgrounds that feel less like you’re standing in a busy center.
Parks are great for portraits because you can create flattering framing even if you’re not an expert. Trees and open pathways give you options: you can aim for a full body shot with greenery, or a closer portrait with a calmer backdrop.
Why this stop is valuable: it balances out the rest of the route. If your goal is an Instagram feed that looks thoughtful, this park scene helps break up the dense city blocks. Your photos feel more like a story instead of a checklist.
A practical consideration: bring a bit of patience for changing foot traffic in parks. Dublin parks are popular, but the tour’s schedule gives you enough time to find a comfortable spot for multiple shots.
Trinity College Dublin: classic architecture, and a reason to slow down
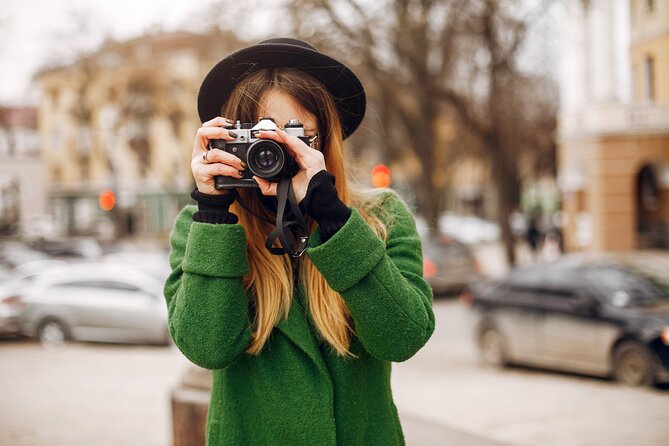
The tour finishes at Trinity College Dublin for about 25 minutes, with both a photo stop and guided visit. Trinity brings an instantly recognizable Dublin look: historic architecture and a sense of place you don’t get on ordinary street corners.
This stop is where your images can turn from “pretty Dublin” to “this is really Dublin.” Historic campuses often photograph beautifully, especially when you’re directed to use the built environment as part of your portrait, not just background clutter.
What you’ll likely appreciate: the guided component. A guide can point out visual angles and spots that make your photos look intentional. Even if you’re not chasing facts, it helps you stand in the right place.
One more practical note: when you visit well-known sites, there can be rules about where people can stand or linger. The tour’s short timeframe means you should stay close to the group and follow the photographer’s cue on when to move. It keeps things smooth for everyone.
The photography part that makes this tour worth it
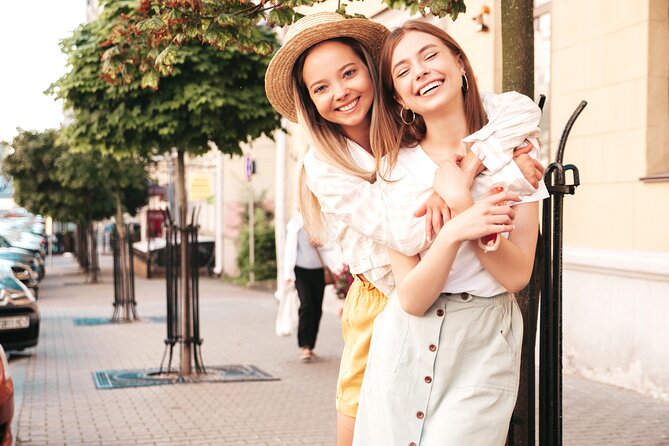
The tour is built around more than taking pictures. It’s built around getting photos that look like you had your life together during your trip. That might sound funny, but it’s real.
Here’s what the photographer guidance likely does for you:
- Pose direction that keeps you relaxed: you’re not staring at your screen trying to remember how to smile
- Framing help: you get better angles than most people choose by accident
- Multiple shots at key moments: you don’t have to nail it on the first try
- A fast learning curve: once you understand the photographer’s approach, your confidence improves immediately
You also get a digital gallery of professionally edited images within days. One review mentions photos released in 48 hours, which is a nice perk if you want content ready quickly. Even if your timing is a bit longer, edited photos are a major upgrade from phone edits alone.
And because it’s a private group, the photographer can spend more attention per person than you’d usually get on a large public tour. If you’re traveling as a couple, this is especially handy. You’re not squeezed into a lineup, and you can get pair photos that look natural together.
Price and value: is $180 per group actually fair?
The price is $180 per group up to 8 for an experience that runs about 2 hours. On the surface, that sounds like a lot until you break down what you’re paying for.
You’re paying for:
- a professional photographer
- on-the-spot pose and photography tips
- a curated route through major landmarks that are already visually strong
- professionally edited digital images delivered within days
If you’re splitting the cost with a small group, the per-person value becomes much easier to swallow. And if you’re a solo traveler, you’ll feel the price more, but you also remove the hassle of coordinating with friends to take your photos. That alone is worth something in Dublin, where good photo spots often look best when you have consistent framing and timing.
The best way I’d frame it: this is a “buy the outcome” tour. You’re not just paying for walking. You’re paying for a photo result you can actually use.
Who this tour is best for in Dublin
This is a smart fit for:
- Solo travelers who want photos with them in the frame, not just landmarks
- Couples who want date-like portraits without awkward self-timing
- Friends or families who want memories that look polished
- Anyone who wants an efficient way to cover multiple famous photo zones in one go
If you’re the type who loves planning your outfits and wants a reliable set of shots for social media, you’ll likely enjoy the focus. If you hate structured tours, you might feel the schedule is guiding you more than you prefer. But it is still a laid-back walk, and the time at each stop is designed for photo variety rather than nonstop marching.
A few practical tips so your photos look great
The tour does the heavy lifting, but you can make it even easier for the photographer if you show up prepared.
- Wear comfortable shoes for a 2-hour walking route
- Think about outfit contrast: street scenes and parks both look better when your clothes don’t blend into the background
- Keep your pace steady: if you walk too fast, it’s harder for the photographer to frame shots
- Listen for pose cues: the best photos usually come from following direction, not improvising
- Be ready for multiple takes: the guide’s job is to get options, not a single perfect frame
Also, since the tour concludes back at O’Connell Bridge, plan for a seamless transition. Grab a snack, keep exploring, or use the rest of the day to chase anything you missed. Your photos will keep the experience alive even after the walking part ends.
What to know from real guide energy, like Lyvia
One review specifically mentions a guide named Lyvia who was friendly and welcoming. That detail matters because photography tours can feel awkward if the guide’s vibe is cold. Here, the tone described in reviews is warm, and that helps you relax into being photographed.
I also like that people highlighted the tour as more than a camera exercise. The guide is described as sharing a lot of Dublin context, not just pointing at places. That combination gives you photos plus a sense of place, which is why the experience tends to feel memorable rather than gimmicky.
Should you book this Dublin photo experience?
Book it if you want a photo-driven Dublin highlight walk that gives you real guidance and a professionally edited digital gallery within days. It’s especially worth it if you’re traveling solo, if you care about looking good in your pictures, or if you want a clean way to hit major Instagram-friendly locations without juggling phones and timing.
Skip it if you’re uncomfortable with crowds at spots like Temple Bar, or if you need mobility accommodations, since it is not suitable for wheelchair users based on the activity info. Also skip it if you want a long, slow tour with lots of free time at each location, because this one is built to cover several iconic stops in about 2 hours.
If you’re in the sweet spot, this is a solid value play: you pay for a professional to make you look good, then you take home edited images you can actually share.
FAQ
What is the price for the Dublin personal photographer experience?
It costs $180 per group, with a maximum group size of up to 8.
How long is the tour?
The tour lasts approximately 2 hours. Starting times depend on availability.
Where do we meet, and where does the tour end?
You meet at O’Connell Bridge. The tour ends back at the meeting point.
What will I receive after the tour?
You’ll receive a digital gallery of professionally edited photos within days, ready to share on social media.
Is the tour private?
Yes, it is listed as a private group experience.
What language is the live guide?
The live tour guide is in English.
Is this tour suitable for wheelchair users?
No, it is not suitable for wheelchair users.
For the Dawn Light
Elsewhere on The Ireland Traveler
Lately added to the Dublin pile
- Waterford Crystal and Kilkenny Full-Day Rail Tour from Dublin
★ 5.0 · 3 reviews - Turtle Bunbury’s Dublin: A Self-Guided Audio Tour from a Celebrated Author
★ 5.0 · 3 reviews - Cliffs of Moher and The Burren Private Tour from Dublin
★ 5.0 · 3 reviews - Dublin Full-Day Tour through Boyne Valley
★ 5.0 · 3 reviews - Rock Of Cashel And Blarney Castle Private Chauffeur Full Day Sightseeing Tour
★ 4.5 · 3 reviews - Private Irish Fusion Meal in a Modern Home in Skerries, Dublin
★ 5.0 · 3 reviews
More Photography Sessions, side by side.
 ★ 5.0Cork Instagram Photography Walking TourFrom $2454 reviews
 ★ 4.5Dublin: Personal Photographer – Travel Photography ExperienceFrom $20337 reviews
 ★ 5.0Luxury Photography Day Tour on Ring of Kerry and Skellig Ring – Fully Guided and ChauffeuredFrom $1,02020 reviews
 ★ 4.8Dingle: Slea Head Sunset & Magic Hours Photo TourFrom $11917 reviews
 ★ 5.0Luxury Photography Day Tour on Dingle Peninsula – Fully Guided and ChauffeuredFrom $9748 reviews
 ★ 5.0Private Tour: Personal Travel Photographer Tour in DublinFrom $2936 reviews
Other lists this one is on